
//전체 아이템 리스트
| 아이템 | 오픈날짜 | 종료날짜 | 비고 |
| Code Repo Local/Remote Setting | 2024-06-02(일) | 2024-06-02(일) | |
| Python Virtual Env Setting | 2024-06-02(일) | 2024-06-02(일) | |
| Python Source Code Execution | 2024-06-01(토) | 2024-06-02(일) | Test on Development Server Source code update in aws_python_api |
| DHP Server IP Update to AWS Route53 | 2024-05-25(토) | 2024-05-25(토) | Python Source Code |
//2024-05-25(토) DHP Server IP Update to AWS Route53
import boto3
import requests
def update_route53_record():
# Get the current dynamic IP address
ip_address = requests.get('https://ifconfig.co/ip').text
# Update Route 53 record with the new IP address
client = boto3.client('route53')
hosted_zone_id = 'YOUR_HOSTED_ZONE_ID'
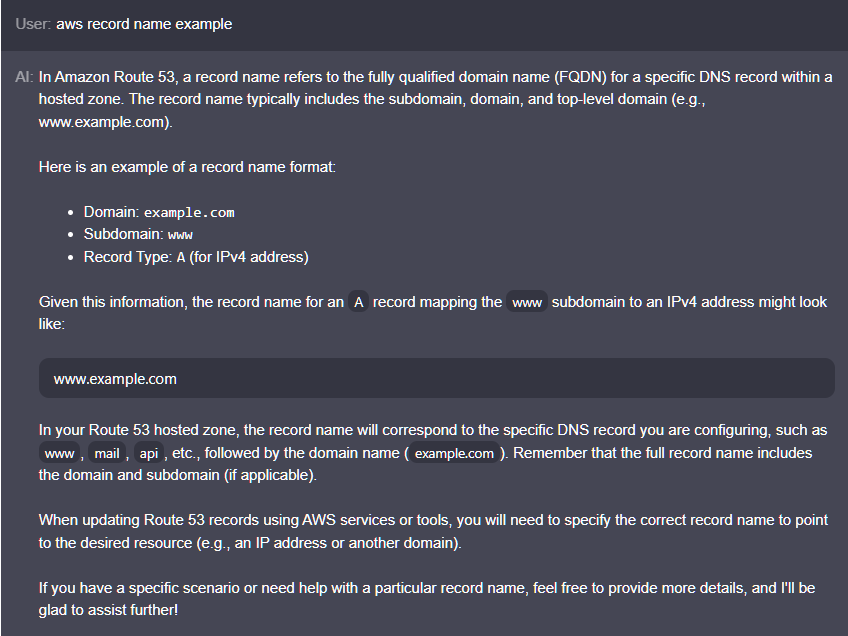
record_name = 'YOUR_RECORD_NAME'
response = client.change_resource_record_sets(
HostedZoneId=hosted_zone_id,
ChangeBatch={
'Changes': [
{
'Action': 'UPSERT',
'ResourceRecordSet': {
'Name': record_name,
'Type': 'A',
'TTL': 300,
'ResourceRecords': [{'Value': ip_address}]
}
}
]
}
)
print(f"Route 53 record updated with IP: {ip_address}")
def lambda_handler(event, context):
update_route53_record()
return {
'statusCode': 200,
'body': 'Route 53 record updated successfully'
}
update_route53_record()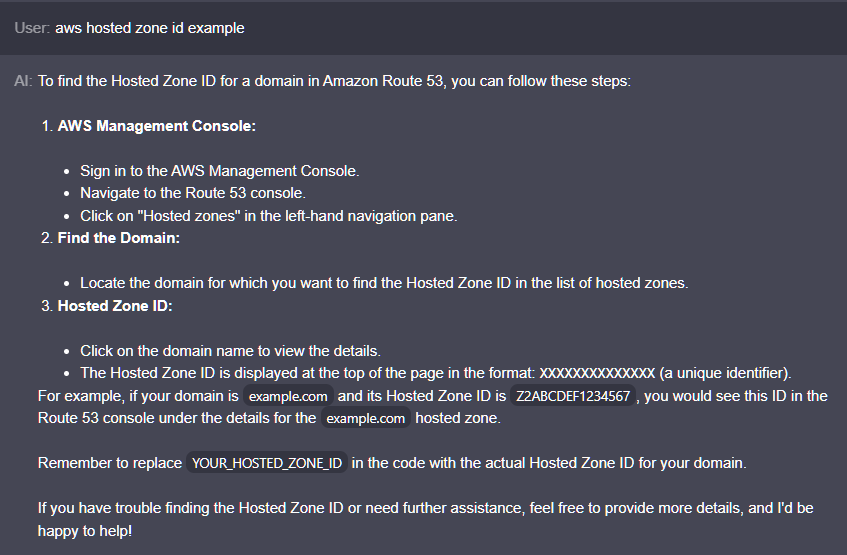
//2024-06-01(토)
Python Virtual Env Setting : isolate python in virtual enviroment not cause global python conflict.
User:
source bin activate
AI:
It seems like you are referring to activating a Python virtual environment.
To activate a virtual environment in a Unix-based system (like Linux or macOS) using the source command,
you typically use the activate script located in the bin directory of the virtual environment.
Here's how you can activate a virtual environment using the source command:
Navigate to the directory where your virtual environment is located. Let's assume it's named myenv.
Activate the virtual environment using the activate script with the source command:

	source myenv/bin/activate

This command will activate the virtual environment,
and you will see the environment name prefixed in your terminal prompt.
To deactivate the virtual environment, you can simply use the deactivate command:

	deactivate

This will return you to the system's default Python environment.
Remember to use source with the activate script to activate the virtual environment properly.
//2024-06-02(일)
Code Repo Local/Remote Setting
User:
git create remote repo via local terminal

AI:
Sure! To create a remote repository via your local terminal, you can follow these steps:
Navigate to the directory of your local repository using the terminal.
Initialize a new Git repository if you haven't already done so with the command: git init.
Add your files to the staging area using the command: git add . (this adds all files) or git add <file> (to add specific files).
Commit your changes with the command:

	git commit -m "Initial commit".

Go to your Git hosting service (like GitHub, GitLab, Bitbucket) and create a new repository.
Copy the URL of the newly created repository.
Add the remote repository URL to your local repository using the command:

	git remote add origin <repository_URL>.

Push your local commits to the remote repository using the command:

	git push -u origin master (for the master branch).

That's it! Your local repository has now been pushed to a remote repository.
Let me know if you need any further assistance.